Additive Manufacturing


The Additive Manufacturing (AM) Laboratory at the Center for Advanced Vehicular Systems (CAVS) is advancing the understanding and adoption of metal-based AM for a variety of applications important to our state and region. With a focus on helping partners in industry and defense fully realize the potential of AM, CAVS has acquired $1.5 million in state-of-the-art equipment in recent years for its 4,000-square-foot AM lab. CAVS has been doing AM-related research for more than 20 years and has assembled an interdisciplinary team to support all aspects of AM research. The future of AM relies on the synergistic advancement of predictive modeling, advanced data analytics, and in-situ monitoring capabilities — all of which are areas of focus for the AM Lab at CAVS.
Additive Manufacturing
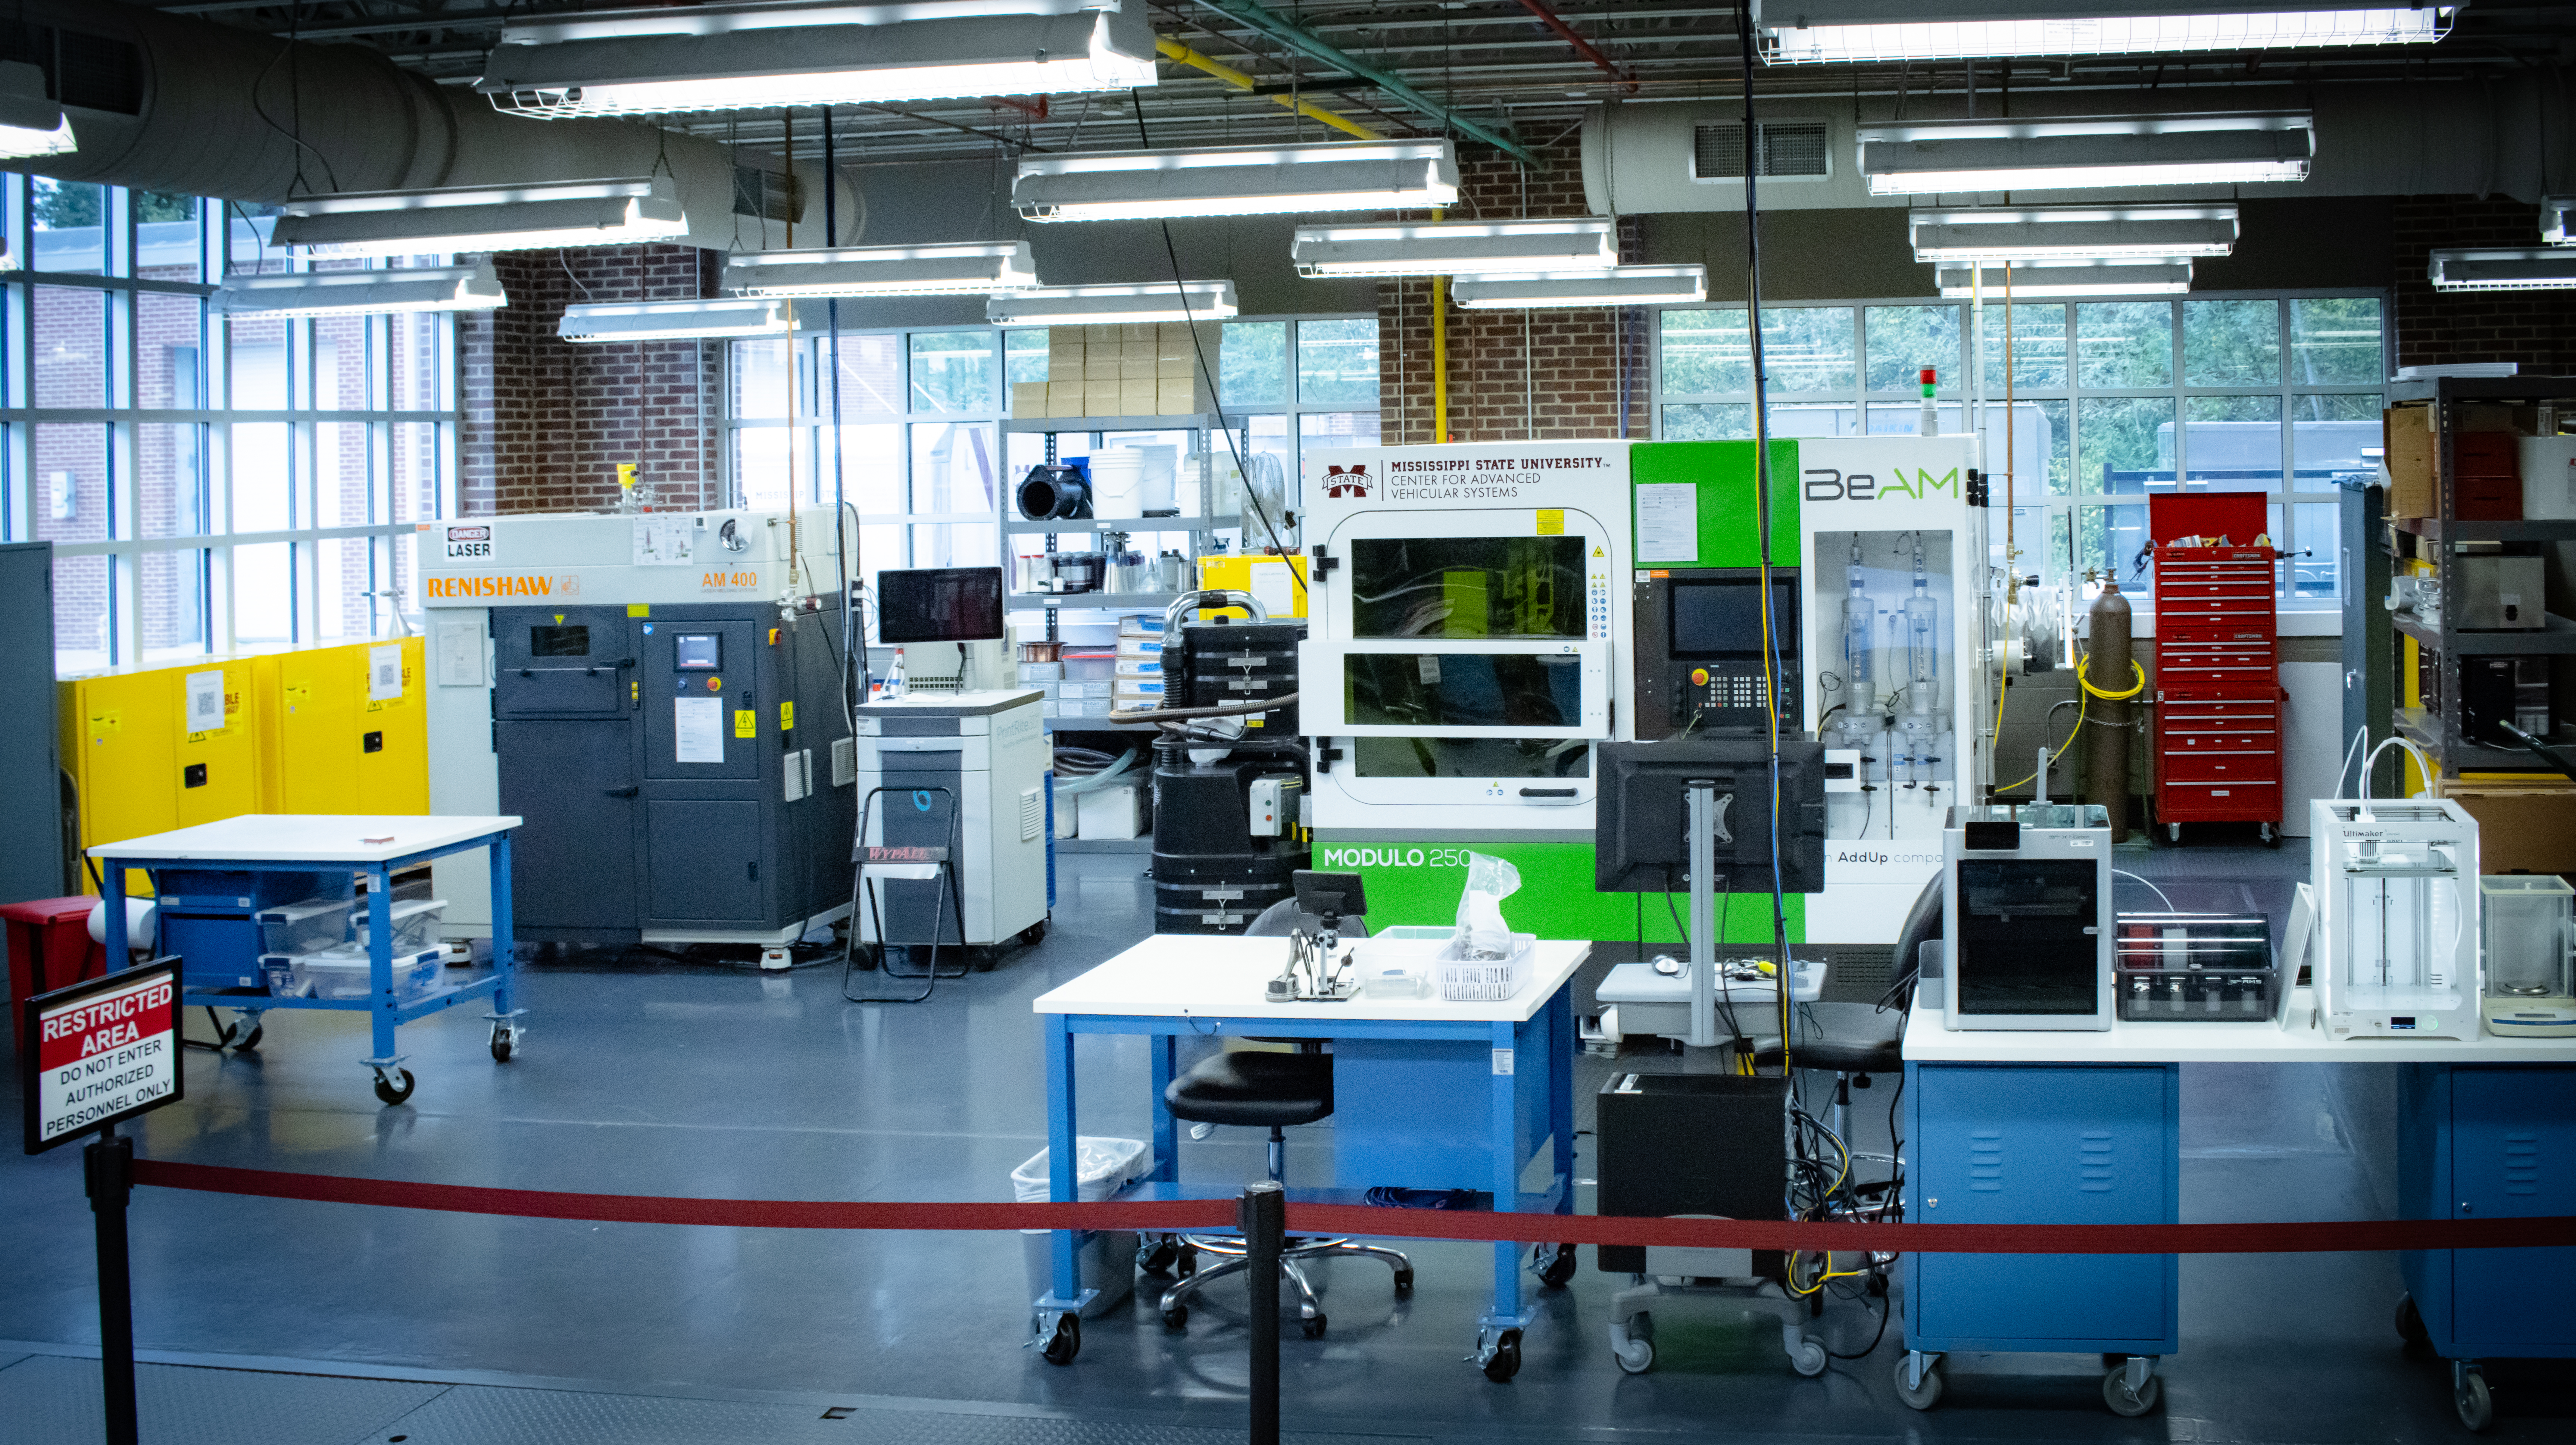
CAVS is home to a well-equipped Additive Manufacturing Laboratory. To ensure research success at an accelerated pace, MSU and CAVS house unique resources, including AM machines, mechanical characterization equipment, full-service machine shops, a high-performance computing network/cluster and more.

click panels to expand
ABB FlexArc 250A
-
Type
Wire Arc Directed Energy Deposition (arc-DED)
-
Power Source
Fronius TPS 400i CMT or Fronius TransTig 3000 with Plasma Module 10 (PAW)
-
Build Volume
20"×20"×40"
-
Material Type
Wire
-
Materials Used
ER70S-6, ER120S-G, M250, 316L
-
Thermal Monitoring
Yes
BeAM Modulo 250
-
Type
Laser Directed Energy Deposition (DED)
-
Power Source
500W Laser with 10VX Deposition Head
-
Build Volume
16"×10"×12"
-
Material Type
Powder
-
Materials Used
Ti-6Al-4V, IN625, IN718, 316L
-
Thermal Monitoring
Yes
Renishaw AM 400
-
Type
Laser Powder Bed Fusion (L-PBF)
-
Power Source
400W Ytterbium Fibre Laser
-
Build Volume
10"×10"×12"
-
Material Type
Powder
-
Materials Used
Ti-6Al-4V, 316L, IN625
-
Thermal Monitoring
Yes
ABB IRB 2600 Robotic Weld Cell


The ABB weld cell outfitted for Wire Arc Additive Manufacturing (WAAM) uses traditional welding technologies to quickly deposit large quantities of material for larger builds. The integrated WAAM3D process monitoring end effector allows for gas shielding and temperature and arc monitoring during the process.
BeAM Modulo 250

The Modulo 250 is a 5-axis directed energy deposition (DED) laser additive manufacturing system with a 500W laser and dual powder hoppers. The DED system provides the capability to build in free space with the ability to produce functionally graded chemistries. Because of the open build area, repair of existing parts is also possible.
Renishaw AM400

The Renishaw AM400 laser powder bed fusion (L-PBF) system with a 400W laser and installed SigmaLabs thermal monitoring system is excellent for production of parts with a high level of geometric complexity or with small scale features that require the high resolution provided by the 70 nm laser spot size.
Process Optimization
We use accelerated optimization of the additive manufacturing process parameters to identify the process parameters that result in targeted mechanical properties. We also carry out In-Situ thermal monitoring and anomaly detection using machine learning to monitor the variability and uncertainty associated with the underlying thermophysical transitions during the fabrication process. To learn more, click the link below.
Data Science
AM is a data intensive process, generating experimental and computational datasets that are significant in size and knowledge. The AM Lab is developing algorithms to better extract information from these datasets that can be used to better understand or improve a specific AM process.
Physics Based Modeling
The additive manufacturing (AM) group at CAVS supplements its experimental capabilities with high-performance computer models. Computer modeling reduces the cost of trial-and-error experiments. The CAVS team is performing temperature distribution calculations during Laser Engineering Net Shaping (LENSTM) deposition of Ti-6Al-4V alloy based components, aiming to find optimal deposition path, laser power, speed, and powder delivery rate, and to produce the best quality products. The deposition process with un-optimized parameters can result in material defects, such as high porosity, insufficient strength, and high residual stress in the produced part. These defects can be minimized by adjusting parameters of the deposition process. CAVS' approach is to implement numerical models of laser deposition, validate them with data from physical experiments, and utilize simulations to find process parameters that will result in optimal manufactured product.

![Experimental Data [Marshall et al Data in Brief 2016]](img/af_thermal2.jpg)
Material Testing and Characterization
Current experimental evidence suggests that the mechanical properties of laboratory AM specimens may not be representative of those associated with parts. This is due primarily to differences in geometry and size, which influences the thermal histories experienced during fabrication, and consequently, microstructural features, surface roughness and more.

Additionally, standards for mechanical testing methods, specimen design procedures, and post-manufacturing treatments may require revision for AM parts. Standardizing the AM process may only be accomplished by strengthening the current understanding of the relationships among process parameters, thermal history, solidification, resultant microstructure, and mechanical behavior of the part. Having the ability to predict variations in mechanical behavior based on resultant microstructure is a temporary solution for making AM a more reliable means for producing functional parts.
Developing microstructure-property models is arguably the first necessary step toward design optimization and the more efficient, accurate estimation of the structural integrity of AM parts. The porosity ratio differs depending on build orientation.


